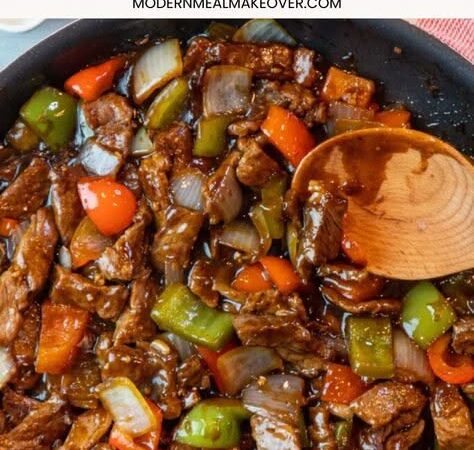
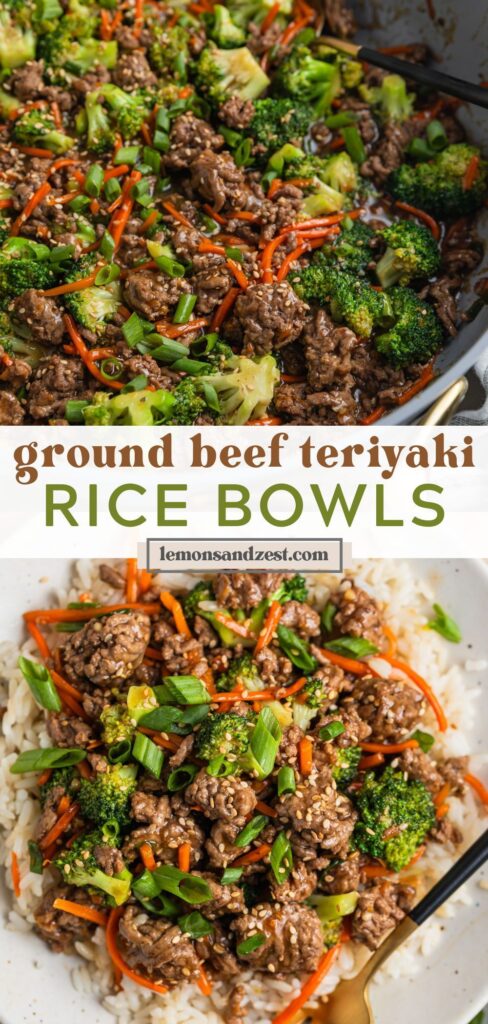
Teriyaki is more than a sauce—it's a technique. The word 'teriyaki' combines 'teri' (gloss) and 'yaki' (grill or pan-fry), referring to the lacquered finish achieved by cooking protein in a sweet soy-based glaze. This recipe breaks down the science of that perfect glaze, so you get a restaurant-quality result at home.
Advertisements1
I've tested this version countless times to balance the four pillars of teriyaki: soy sauce for salt, mirin for sweetness, sake for depth, and sugar for that signature shine. The result is a sticky, caramelized coating that clings to every bite of juicy chicken.
Skip the takeout and the bottled sauces full of preservatives. With a handful of pantry staples and 30 minutes, you'll have a dish that's faster, fresher, and customizable to your taste.
Why You'll Love This Recipe
About the Ingredients
1 1/2 lbs (680g) boneless, skinless chicken thighs
Thighs stay juicier than breasts due to higher fat content. If using breasts, reduce cooking time by 2-3 minutes to avoid drying out.
1/2 cup (120ml) soy sauce
Use low-sodium to control saltiness. Tamari or coconut aminos work as gluten-free or lower-sodium substitutes.
1/4 cup (60ml) mirin
A sweet rice wine essential for authentic flavor. Substitute with 2 tbsp dry sherry plus 2 tbsp sugar, or use 1/4 cup sake with extra sugar.
1/4 cup (50g) granulated sugar
Brown sugar adds a deeper molasses note; honey or maple syrup can replace sugar, but adjust cooking time as they caramelize faster.
2 tbsp (30ml) sake or dry white wine
Adds depth and helps deglaze the pan. Omit if you don't have it, but the flavor will be slightly less complex.
1 tbsp (15ml) rice vinegar
Balances sweetness with acidity. Apple cider vinegar can be used in a pinch.
1 tbsp (15g) fresh ginger, grated
Fresh ginger is non-negotiable for that zing. Ground ginger (1/2 tsp) is a last-minute substitute, but fresh is far superior.
2 cloves garlic, minced
Use fresh garlic for best flavor. Jarred minced garlic works, but reduce to 1 clove equivalent as it's stronger.
1 tbsp (8g) cornstarch mixed with 2 tbsp (30ml) water (slurry)
Thickens the sauce to a glossy glaze. You can also use potato starch or arrowroot powder.
2 tbsp (30ml) vegetable oil
For searing the chicken. Use a neutral oil with high smoke point like canola or grapeseed.
1 tbsp (15g) toasted sesame seeds, for garnish
Adds nutty flavor and visual appeal. Black sesame seeds or chopped peanuts are tasty alternatives.
2 green onions, thinly sliced, for garnish
Fresh scallions brighten the dish. Chives or cilantro can be substituted.
Tips & Tricks
Mistake to Avoid
Burning the sauce. The sugar in teriyaki burns quickly; keep the heat at medium and watch for a gentle simmer, not a rolling boil.
Mistake to Avoid
Overcooking the chicken. Use a meat thermometer to pull the chicken at 165°F (74°C) for thighs; they'll continue cooking from residual heat.
Mistake to Avoid
A watery sauce. Don't skip the cornstarch slurry, and let the sauce cook for a full minute after adding it to activate the starch and reach a glossy consistency.
Pro Tips
Step-by-Step Instructions
1. Make the Sauce
In a small bowl, whisk together soy sauce, mirin, sugar, sake, rice vinegar, ginger, and garlic until sugar dissolves. This is your teriyaki base.
2. Prep the Chicken
Pat the chicken thighs dry with paper towels. Season lightly with salt and pepper—remember the sauce is salty, so keep it minimal. Trim any excess fat.
3. Sear the Chicken
Heat vegetable oil in a large skillet over medium-high heat (350°F / 175°C). Place chicken in a single layer, skin-side down if using skin-on. Cook for 4-5 minutes until golden brown and crispy on the edges. Flip and cook another 3-4 minutes until golden on the second side. The chicken should read 160°F (71°C) internally.
4. Add the Sauce
Pour the teriyaki sauce over the chicken. Reduce heat to medium (300°F / 150°C) and let it come to a simmer. The sauce should bubble gently around the edges. Cook for 3-4 minutes, turning the chicken occasionally to coat evenly.
5. Thicken the Glaze
Make the cornstarch slurry and stir it into the sauce. Simmer for 1-2 minutes until the sauce thickens and coats the back of a spoon. You'll see a glossy sheen develop. The internal temperature of the chicken should now be 165°F (74°C).
6. Finish and Rest
Remove the skillet from heat. Let the chicken rest for 5 minutes in the sauce—this allows the juices to settle and the glaze to cling.
7. Slice and Serve
Slice the chicken into strips against the grain. Arrange on a plate, spoon extra sauce over the top, and garnish with sesame seeds and green onions.
Delicious Variations
Spicy Teriyaki
Add 1-2 tsp sriracha or red pepper flakes to the sauce for heat.
Teriyaki Salmon
Swap chicken for salmon fillets; reduce cooking time to 3-4 minutes per side, and use a lower heat to avoid burning the glaze.
Veggie Teriyaki
Use firm tofu or a medley of broccoli, bell peppers, and snap peas; stir-fry vegetables first, then add the sauce.
How to Store Classic Teriyaki Chicken
Refrigerator
Store in an airtight container for up to 3 days. The sauce will thicken upon chilling; add a splash of water when reheating.
Freezer
Freeze in a freezer-safe container for up to 2 months. Thaw overnight in the fridge before reheating.
Reheating
Reheat in a skillet over medium heat (300°F / 150°C) with a tablespoon of water to loosen the sauce, or microwave in 30-second bursts, stirring between.
Frequently Asked Questions
Q: What is teriyaki sauce made of?
Teriyaki sauce is traditionally made with soy sauce, mirin, sake, and sugar, creating a sweet-savory glaze. Some variations add ginger, garlic, or rice vinegar for extra depth.
Q: Can I use chicken breast instead of thighs?
Yes, you can use chicken breast, but it cooks faster and can dry out. Reduce the searing time to 3-4 minutes per side and check for doneness at 165°F (74°C) earlier.
Q: How do I make teriyaki sauce without mirin?
You can substitute mirin with a mix of dry sherry and sugar: use 2 tablespoons sherry plus 2 tablespoons sugar for every 1/4 cup mirin. Alternatively, use sake with extra sugar.
Q: Is teriyaki sauce gluten-free?
Traditional soy sauce contains wheat, so it's not gluten-free. Use tamari or coconut aminos as a gluten-free substitute, and ensure your mirin and sake are gluten-free as well.
Q: Why is my teriyaki sauce not thickening?
If the sauce is too thin, you likely didn't add enough cornstarch slurry or didn't simmer it long enough. Mix 1 tablespoon cornstarch with 2 tablespoons water, add it, and simmer for 1-2 minutes until it thickens.
Ready to ditch the takeout? Try this teriyaki recipe tonight and let me know how it turns out in the comments below. Share your own twist—I'd love to see your glossy creations!
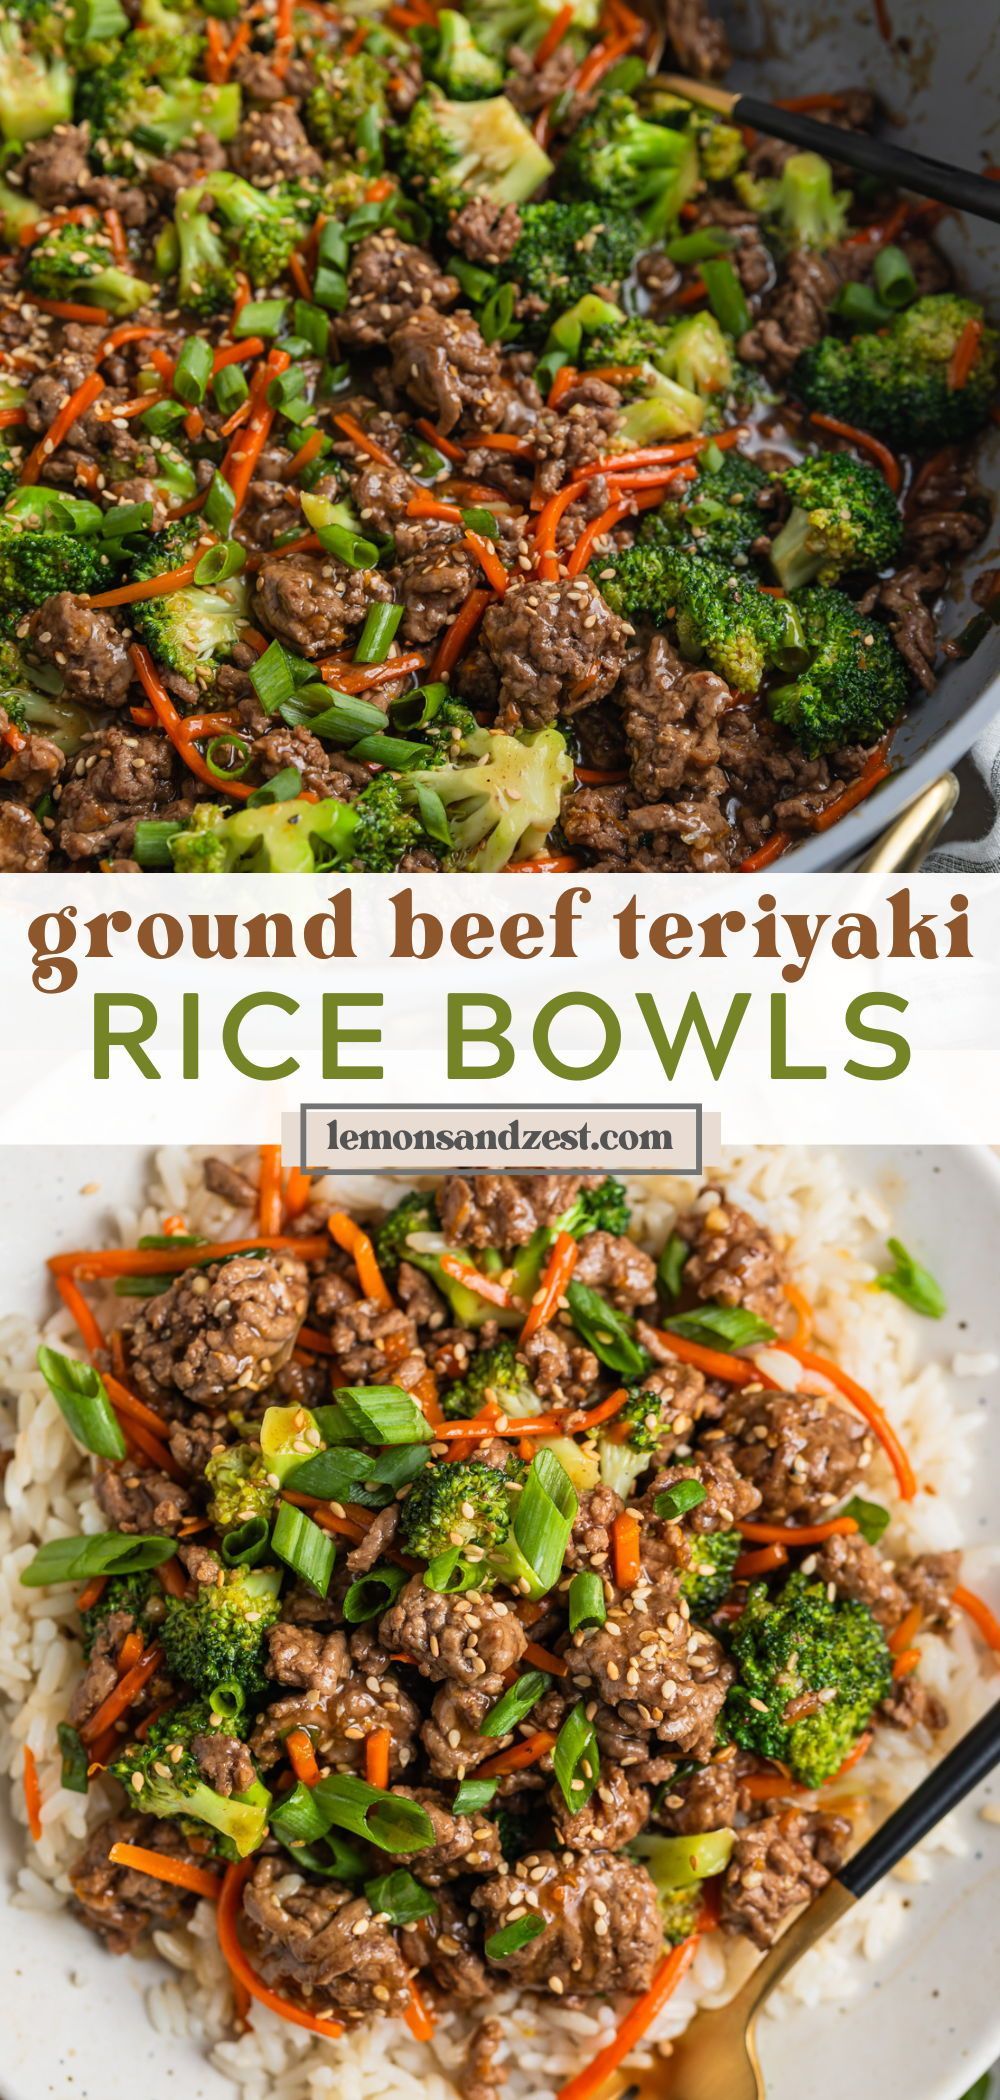
Classic Teriyaki Chicken
Classic Teriyaki Chicken with a glossy, savory-sweet sauce, ready in 30 minutes for a quick weeknight dinner. Juicy, caramelized, and better than takeout.
🧂 Ingredients
- 1 1/2 lbs (680g) boneless, skinless chicken thighs
- 1/2 cup (120ml) soy sauce
- 1/4 cup (60ml) mirin
- 1/4 cup (50g) granulated sugar
- 2 tbsp (30ml) sake or dry white wine
- 1 tbsp (15ml) rice vinegar
- 1 tbsp (15g) fresh ginger, grated
- 2 cloves garlic, minced
- 1 tbsp (8g) cornstarch mixed with 2 tbsp (30ml) water (slurry)
- 2 tbsp (30ml) vegetable oil
- 1 tbsp (15g) toasted sesame seeds, for garnish
- 2 green onions, thinly sliced, for garnish
📋 Instructions
- 1Make the Sauce — In a small bowl, whisk together soy sauce, mirin, sugar, sake, rice vinegar, ginger, and garlic until sugar dissolves. This is your teriyaki base.
- 2Prep the Chicken — Pat the chicken thighs dry with paper towels. Season lightly with salt and pepper—remember the sauce is salty, so keep it minimal. Trim any excess fat.
- 3Sear the Chicken — Heat vegetable oil in a large skillet over medium-high heat (350°F / 175°C). Place chicken in a single layer, skin-side down if using skin-on. Cook for 4-5 minutes until golden brown and crispy on the edges. Flip and cook another 3-4 minutes until golden on the second side. The chicken should read 160°F (71°C) internally.
- 4Add the Sauce — Pour the teriyaki sauce over the chicken. Reduce heat to medium (300°F / 150°C) and let it come to a simmer. The sauce should bubble gently around the edges. Cook for 3-4 minutes, turning the chicken occasionally to coat evenly.
- 5Thicken the Glaze — Make the cornstarch slurry and stir it into the sauce. Simmer for 1-2 minutes until the sauce thickens and coats the back of a spoon. You'll see a glossy sheen develop. The internal temperature of the chicken should now be 165°F (74°C).
- 6Finish and Rest — Remove the skillet from heat. Let the chicken rest for 5 minutes in the sauce—this allows the juices to settle and the glaze to cling.
- 7Slice and Serve — Slice the chicken into strips against the grain. Arrange on a plate, spoon extra sauce over the top, and garnish with sesame seeds and green onions.

Liam covers personal finance and investing for beginners, with a focus on behavioral psychology and avoiding common money traps. He writes from the perspective of a self-taught enthusiast.